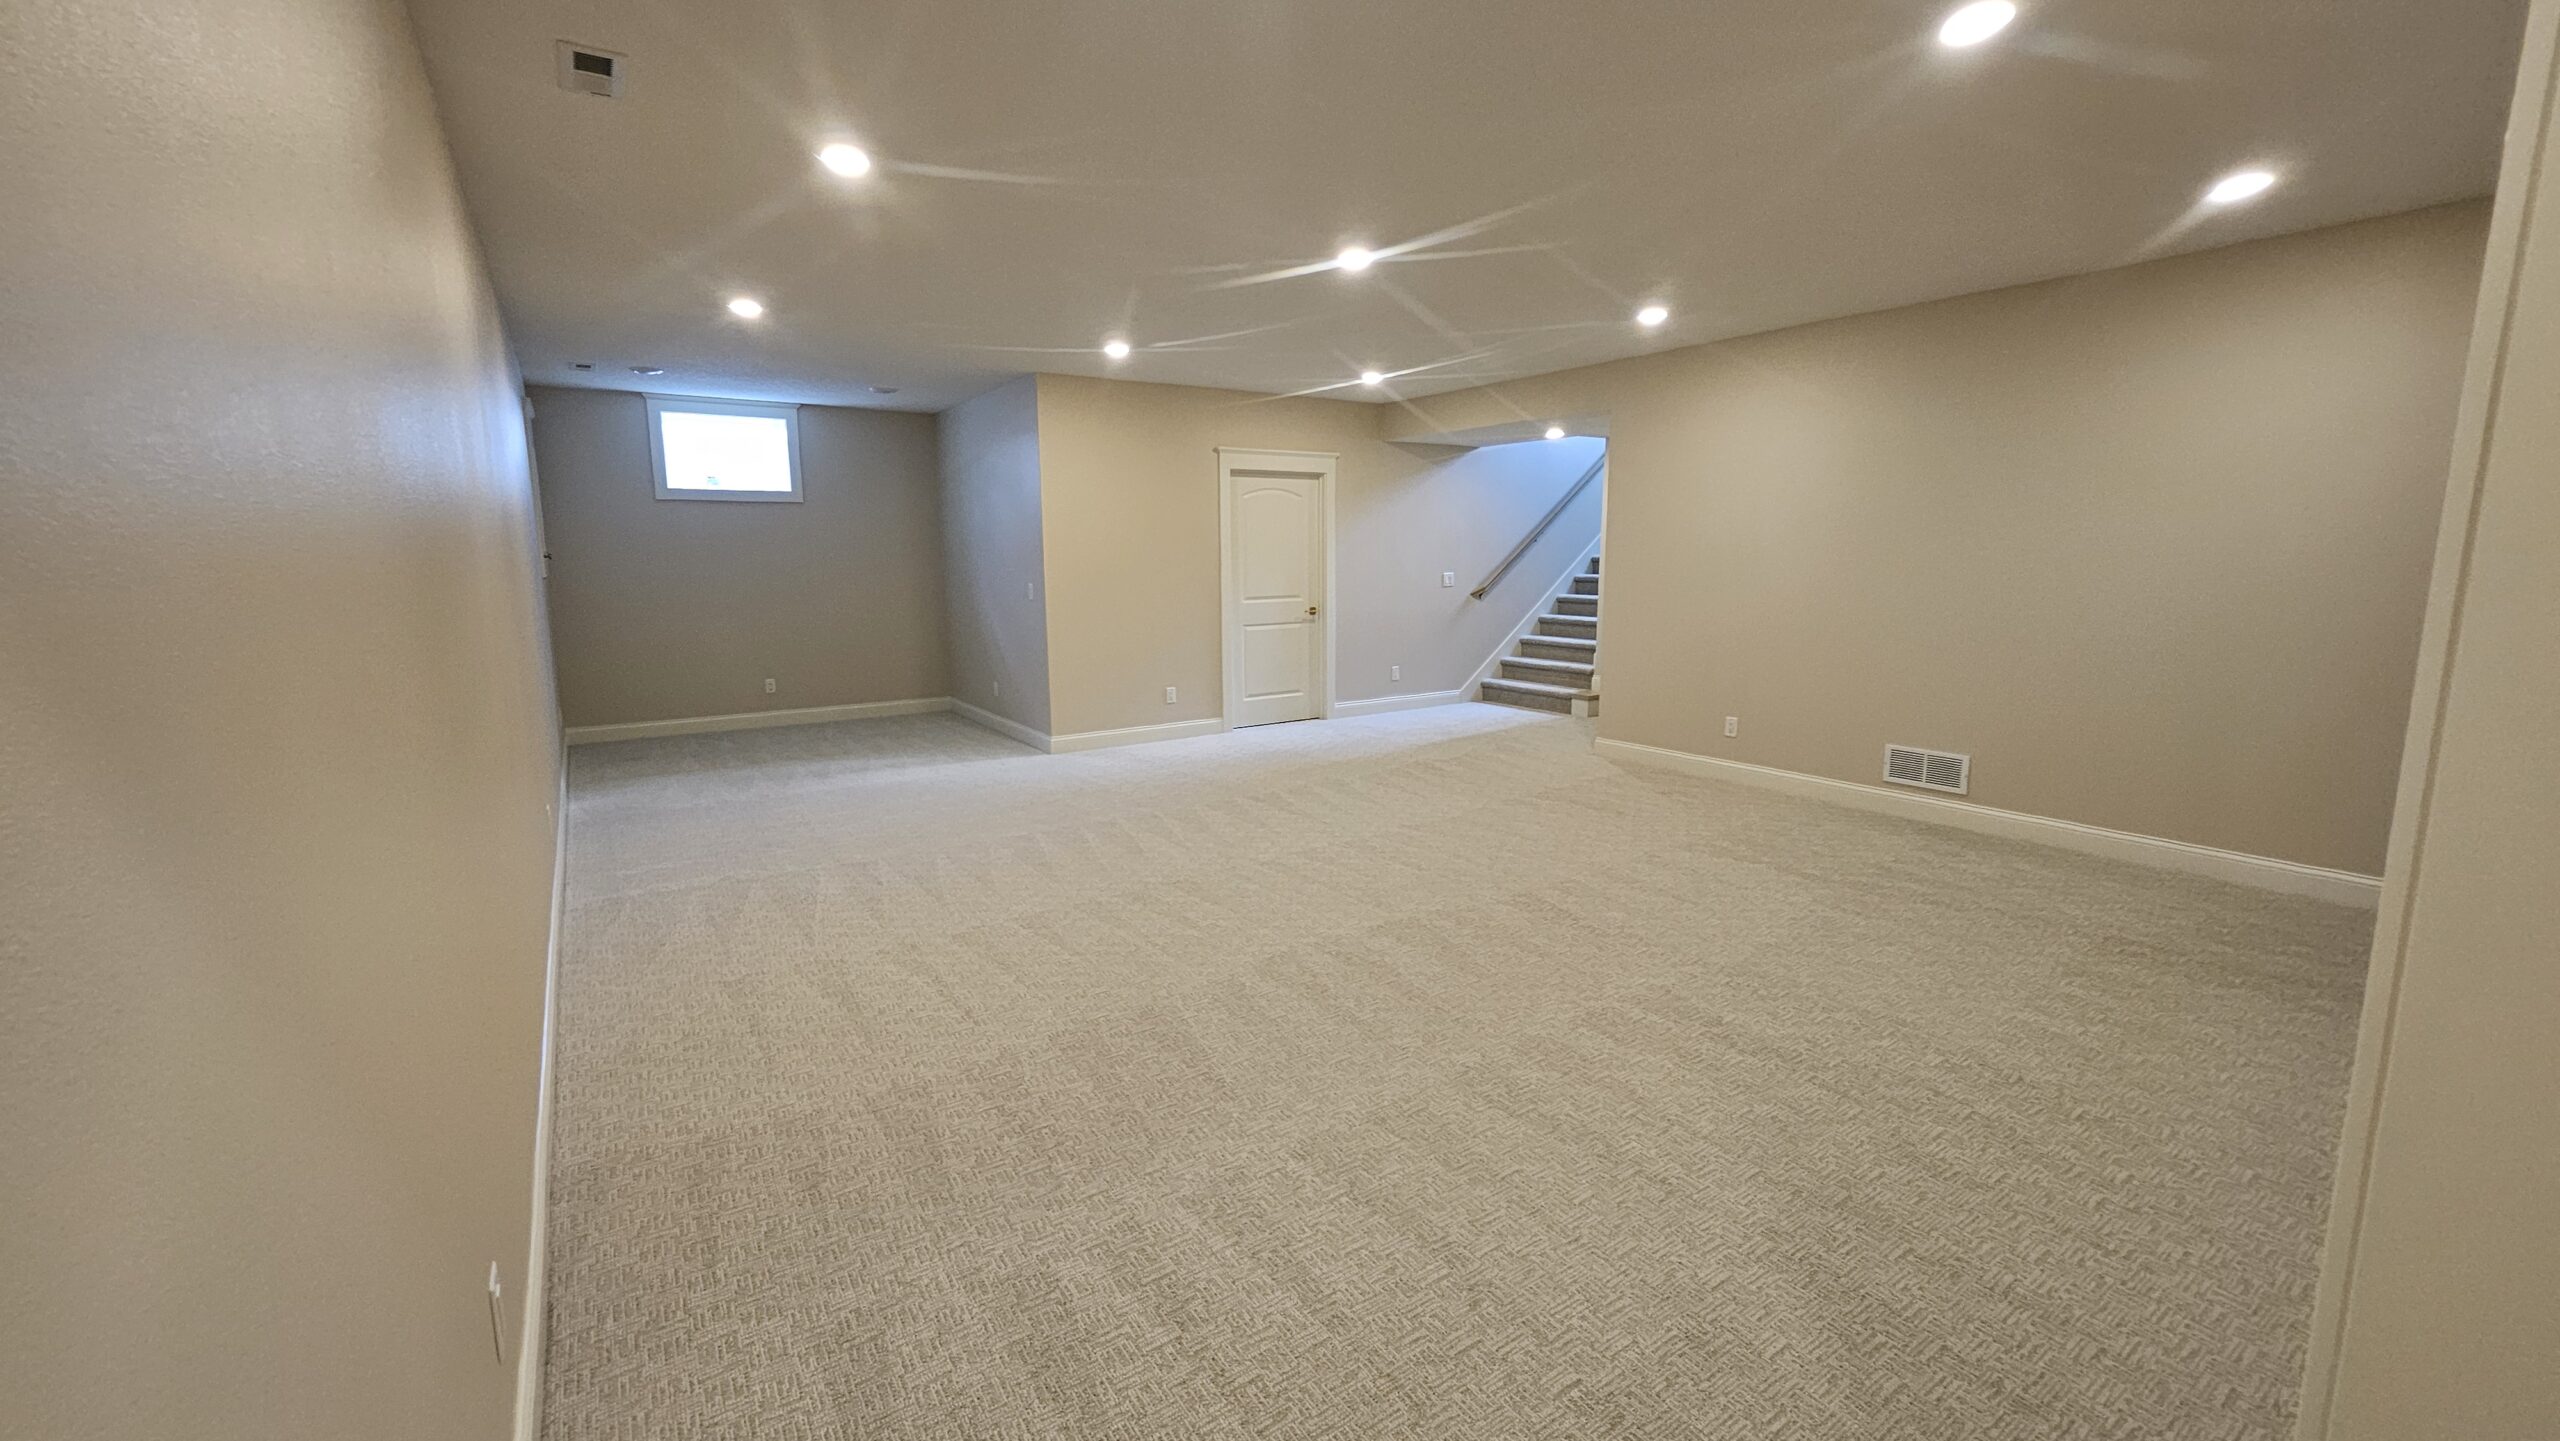
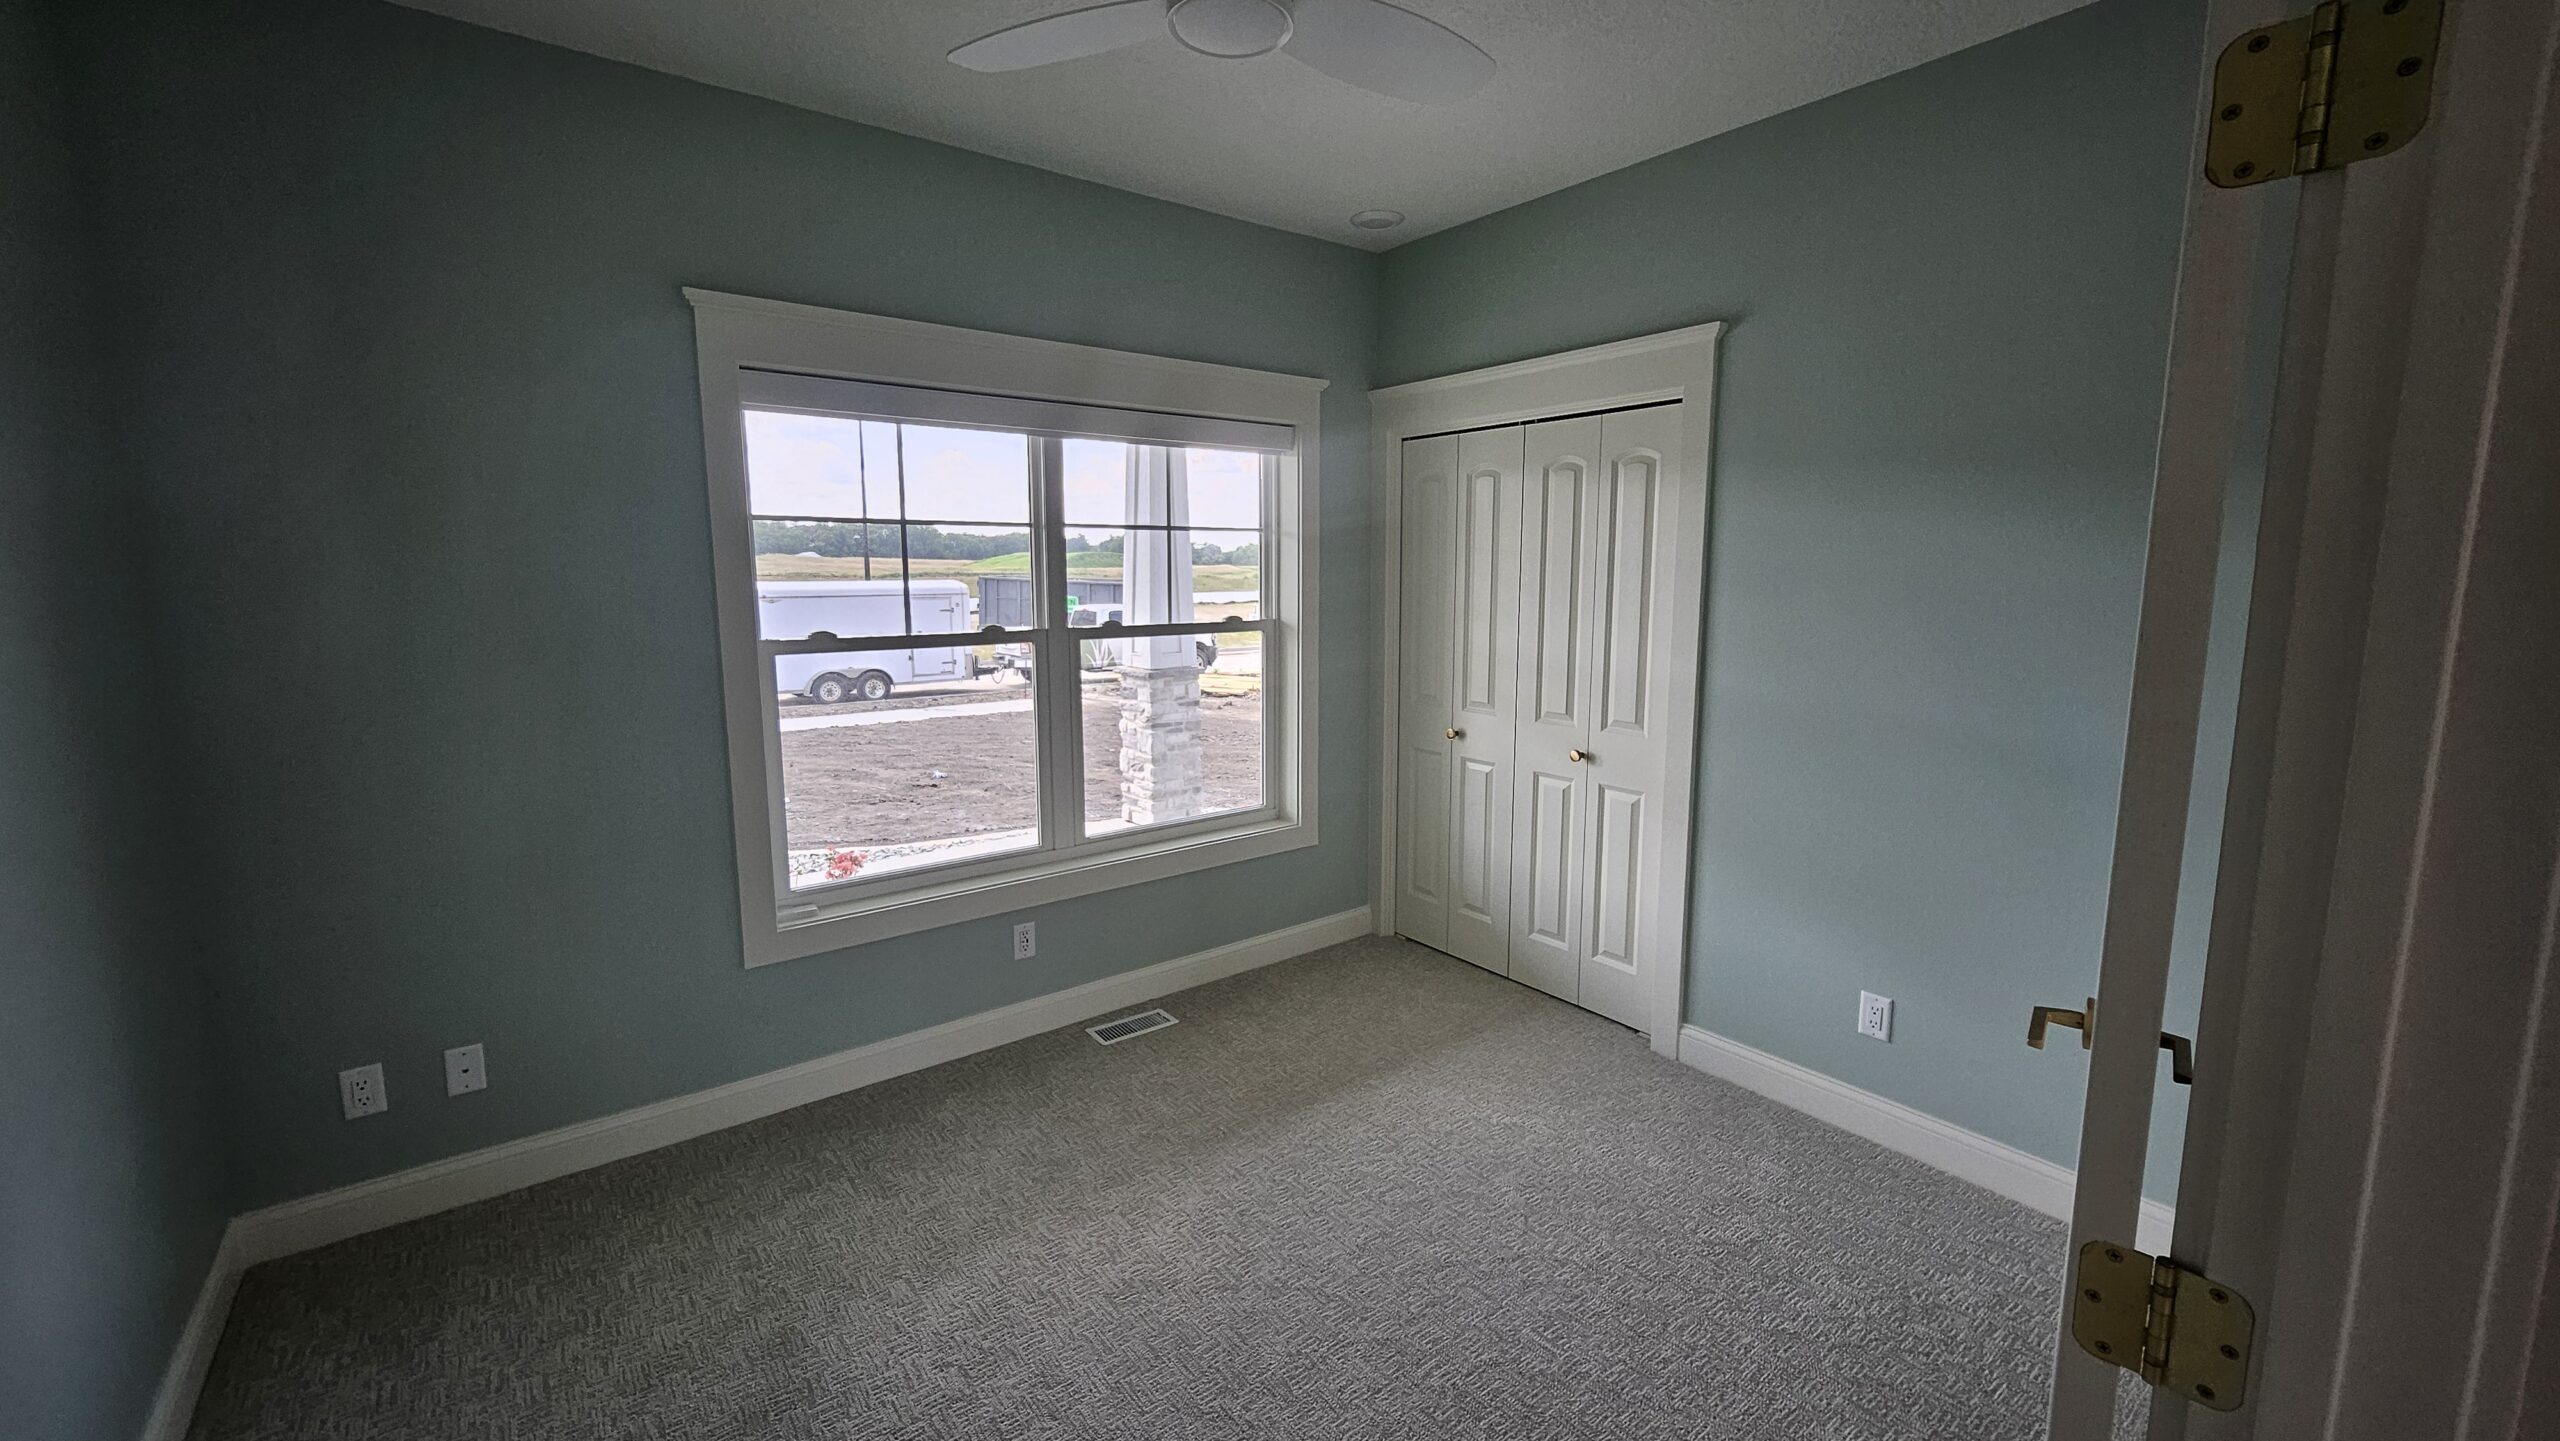
At The Painters, we provide professional drywall repair services in Ames, IA, for homeowners, landlords, and commercial property managers throughout Story County. Drywall damage is one of the most common interior issues we see across Central Iowa properties, yet it is also one of the most misunderstood. Cracks, nail pops, soft spots, seam separation, and water damage are often symptoms of deeper issues such as seasonal movement, moisture intrusion, or improper original installation.
Ames properties experience significant environmental stress. Winter heating dries indoor air, while spring and summer humidity cause materials to expand. These cycles place constant pressure on drywall seams, fasteners, and joints. Homes built from the 1960s through early 2000s—common throughout Ames neighborhoods—frequently show drywall cracking or uneven surfaces as materials age and framing shifts slightly over time.
Drywall repair is not just about making a wall “look smooth.” Improper patching leads to visible seams, flashing through paint, recurring cracks, and uneven textures that stand out under natural or overhead lighting. Our repair process focuses on structural stability, proper reinforcement, and surface uniformity so repairs remain invisible after painting.
We provide drywall repair for:
- Residential homes and condos
- Apartments and student housing
- Offices, retail spaces, and medical facilities
- Churches, schools, and community buildings
Whether you’re preparing for painting, repairing damage after a leak, or correcting years of patchwork repairs, The Painters deliver drywall repair solutions designed to hold up under Iowa’s seasonal conditions.
Why Ames Property Owners Trust The Painters for Drywall Repair
Property owners across Ames trust The Painters for drywall repair because we understand why drywall fails—and how to fix it properly. Many repair attempts fail because they focus only on surface appearance without addressing movement, moisture, or fastening issues beneath the drywall.
In Story County homes, we commonly see drywall damage caused by:
- Seasonal expansion and contraction
- Roof or plumbing leaks
- Settling in older framing systems
- Improper original taping or fastening
Our team evaluates the cause of the damage before starting repairs. This allows us to reinforce seams, correct fastening problems, or stabilize affected areas instead of repeatedly patching the same spot.
Clients choose us because we provide:
- Honest assessments of drywall condition
- Repairs that blend seamlessly after painting
- Clean, controlled work in occupied spaces
- Clear explanations of what caused the damage
A homeowner near Sheldon Avenue contacted us after repeatedly patching a ceiling crack that kept returning. Our inspection revealed joint movement combined with poor tape adhesion. By re-securing the drywall, reinforcing the seam, and retexturing the surface, we eliminated the recurring issue.
Trust is built when drywall repairs remain invisible and stable over time—not just immediately after completion. That reliability is why Ames property owners continue to rely on The Painters.
Our Drywall Repair Services in Ames, IA
Our drywall repair services in Ames cover everything from minor cosmetic fixes to extensive damage restoration. Each repair is tailored to the size of the damage, surface location, and cause.
Our drywall repair services include:
- Crack and seam repair
- Nail pop and fastener repair
- Hole and impact damage repair
- Water-damaged drywall replacement
- Texture matching and smoothing
Small repairs often involve reinforcing existing drywall and blending textures so the repair disappears after painting. Larger repairs—such as water damage or structural movement—may require drywall removal, replacement, and full surface retexturing.
For commercial properties and rental units, drywall repair often includes:
- Fast turnaround between tenants
- Durable repairs for high-traffic areas
- Consistent finish across multiple units
- Coordination with painting schedules
A property manager near Iowa State University hired us to repair repeated wall damage in student housing units. By reinforcing vulnerable areas and standardizing repair methods, we helped reduce ongoing maintenance issues.
Drywall Damage We Repair and How We Prepare Surfaces
Proper preparation is critical for drywall repair longevity. Without reinforcement and correct compound application, repairs often reappear.
We commonly repair:
- Hairline cracks and seam separation
- Ceiling cracks and sagging drywall
- Holes from door handles or impacts
- Water-stained and softened drywall
- Uneven or poorly patched surfaces
Our preparation process includes:
- Inspecting framing and fastening
- Securing loose drywall panels
- Removing compromised material
- Reinforcing seams and joints
Ceiling repairs receive special attention because rising heat and moisture place additional stress on joints. In older Ames homes, plaster-to-drywall transitions also require specialized handling to prevent recurring cracks.
We also prepare surfaces for painting by feathering edges and ensuring uniform texture, which prevents visible patch outlines after paint is applied.
Materials, Compounds, and Repair Methods We Use
Drywall repair quality depends heavily on material selection and application technique. We use professional-grade compounds and reinforcement methods selected for durability and flexibility.
Our repair systems commonly include:
- Reinforced joint compounds
- Mesh or paper tape for seam stability
- Moisture-resistant drywall where required
- Flexible compounds for movement-prone areas
Application methods vary depending on damage severity. Multiple compound layers are often required, with controlled drying and sanding between applications to ensure a smooth finish.
We also guide clients on when repairs should be primed and painted immediately versus allowed additional curing time, depending on humidity and repair depth.
What to Expect When You Hire The Painters
When you hire The Painters for drywall repair in Ames, you can expect an organized, respectful process focused on quality and cleanliness.
Our process includes:
- On-site evaluation of damage
- Clear explanation of repair scope
- Protection of floors and furnishings
- Careful repair, sanding, and cleanup
We routinely perform drywall repairs in occupied homes and active commercial spaces, minimizing dust and disruption as much as possible.

Example: An Ames Drywall Repair Project We Recently Completed
A homeowner near Brookside Park contacted us to repair ceiling drywall damaged by a past roof leak. Previous patch attempts left visible seams and texture inconsistencies.
We removed compromised drywall, reinforced framing, installed new panels, and matched the surrounding ceiling texture. After painting, the repair blended seamlessly with the rest of the room and has remained stable through seasonal changes.
Paint Safety & Property Protection Tips
Drywall repair involves dust, tools, and materials that require careful handling.
Our safety and protection practices include:
- Dust containment during sanding
- Protection of floors and furniture
- Proper ventilation
- Safe handling of repair materials
We also recommend allowing proper curing before painting to ensure long-term results.
Drywall Repair vs. Full Replacement
Not all damage requires full drywall replacement.
Drywall repair is ideal when:
- Damage is localized
- Structural integrity is intact
- Moisture issues have been corrected
Replacement may be necessary when drywall is extensively damaged or structurally compromised. We help clients evaluate the most practical option.
Drywall Repair Before Painting: Why It Matters
Painting over damaged drywall often highlights imperfections rather than hiding them.
Proper drywall repair ensures:
- Smooth, uniform surfaces
- Even paint sheen
- Long-lasting results
Addressing drywall issues before painting prevents visible flaws after the project is complete.