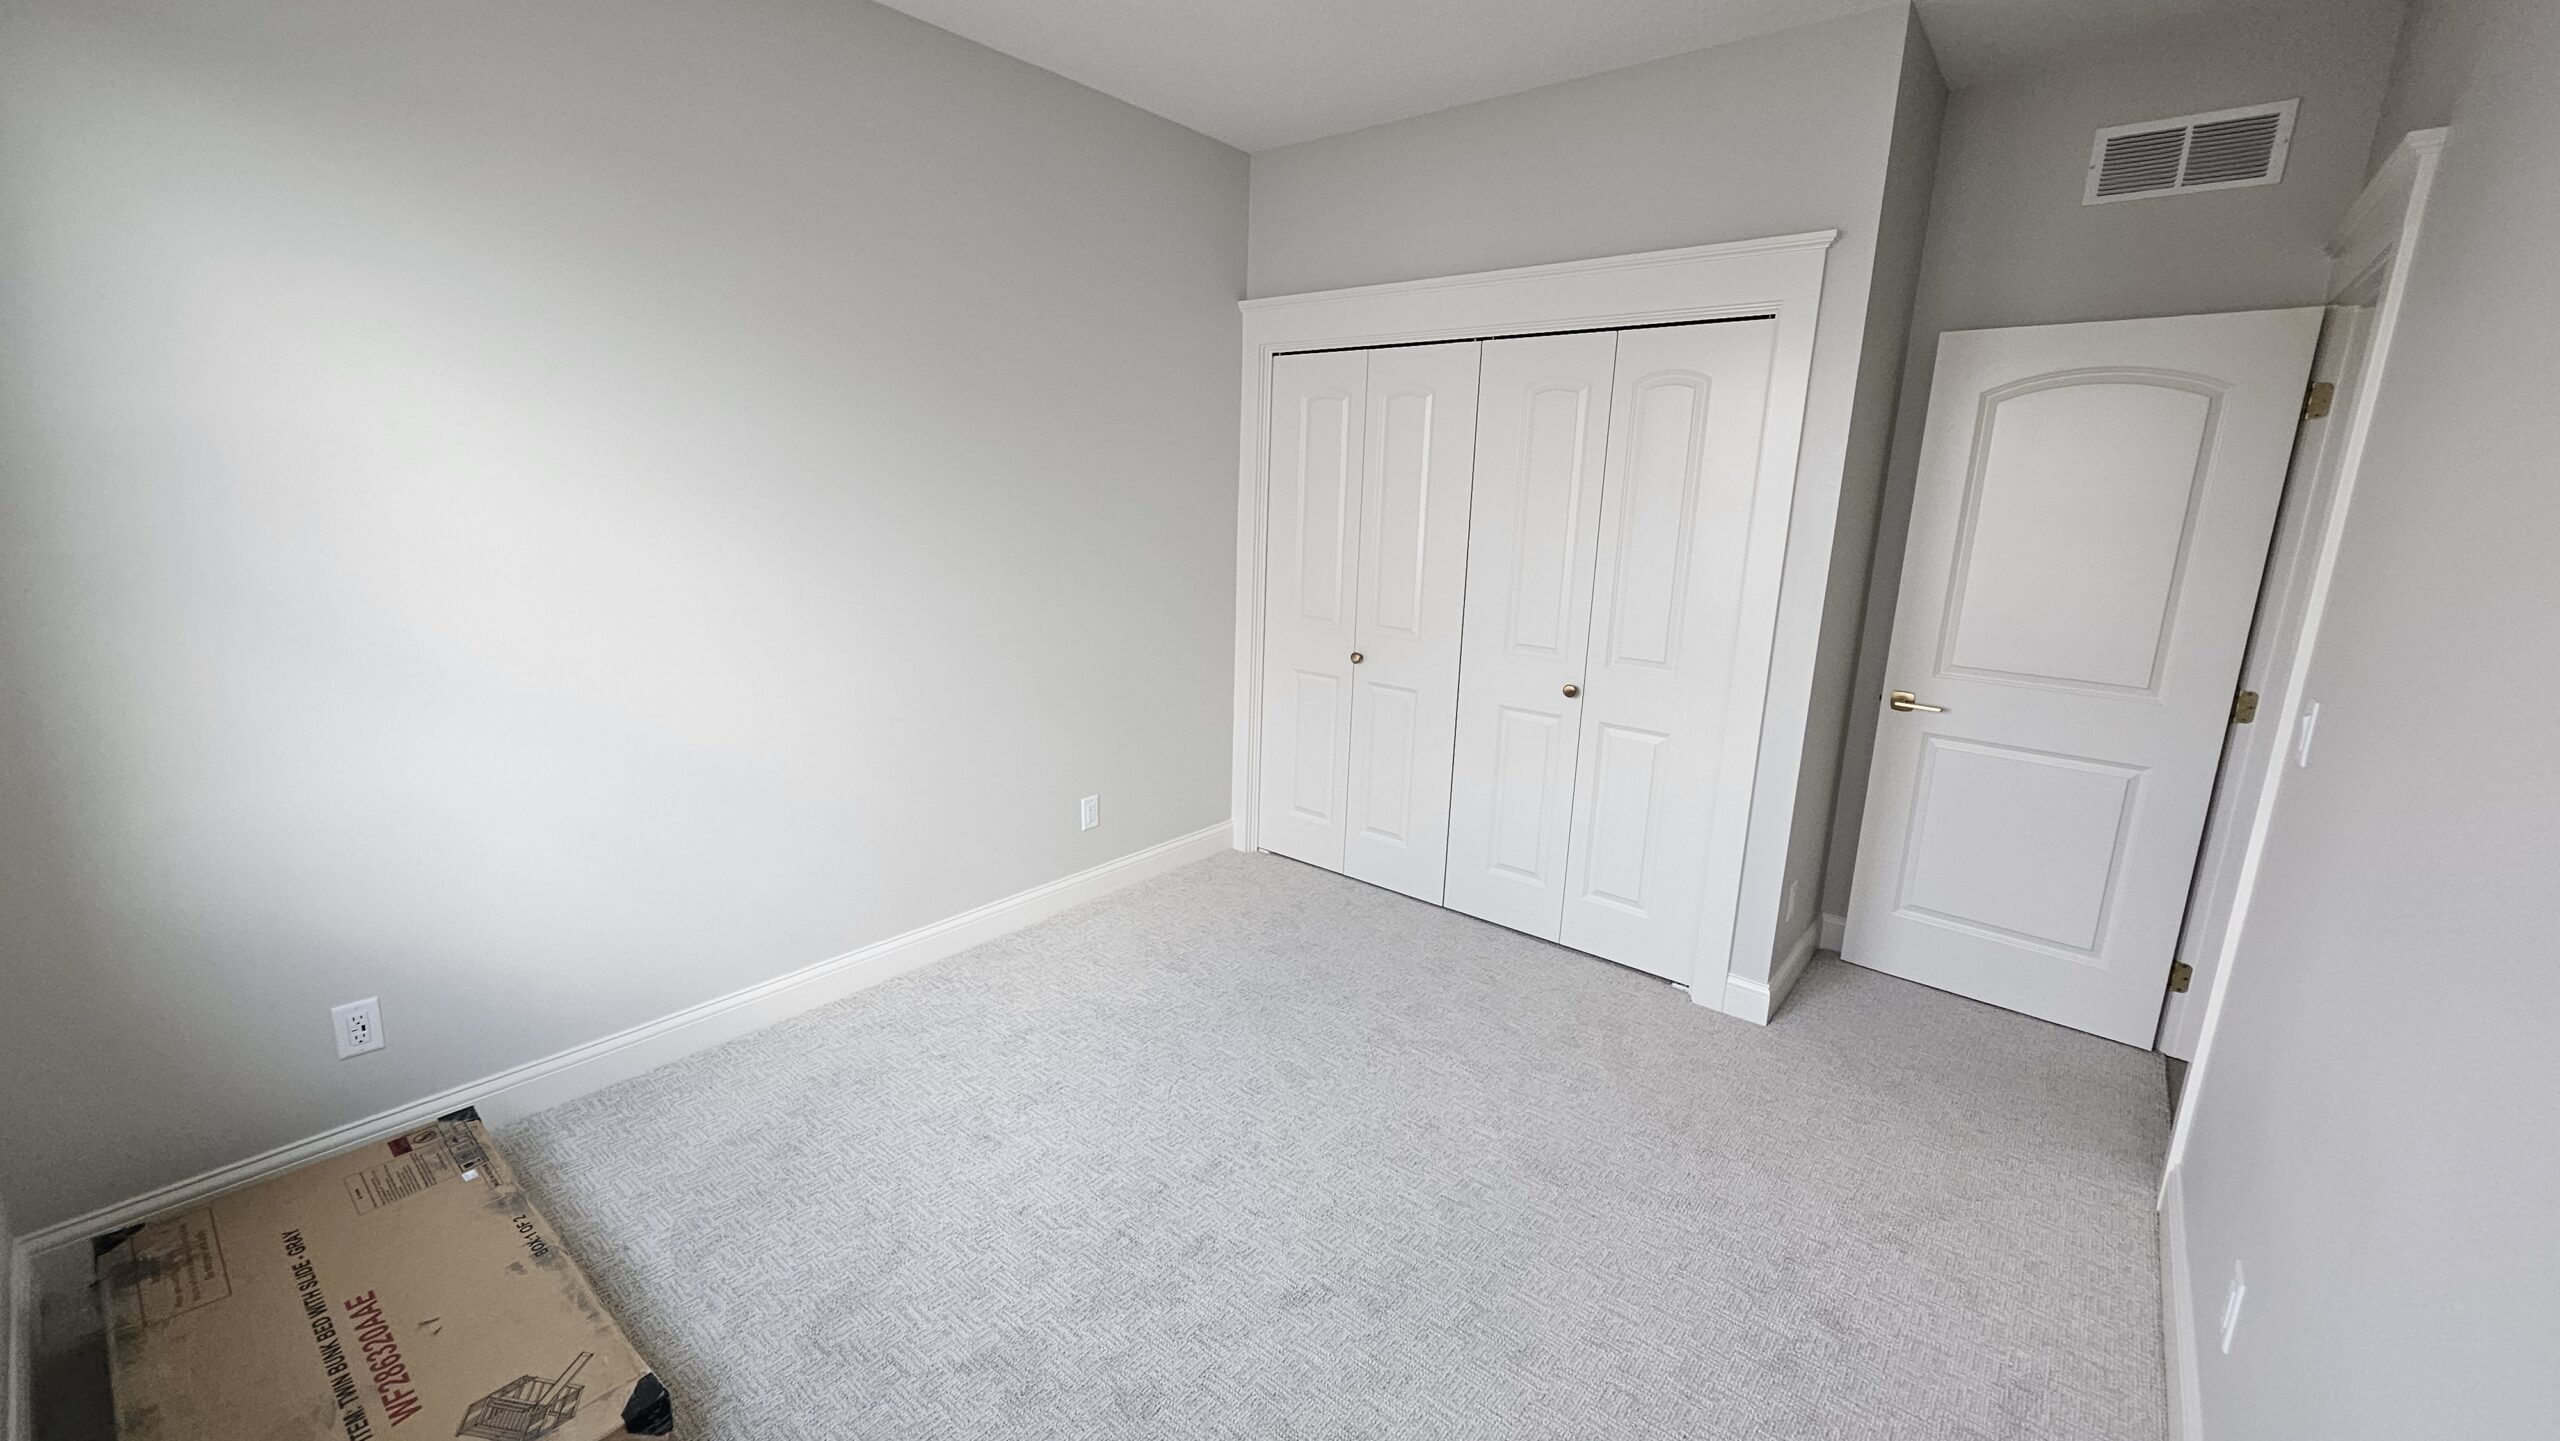
Wall Paper Removal

Wall Paper Removal

Wallpaper can add charm and personality to any room, but over time, styles change, and wallpapers can become outdated or damaged. When it’s time for a fresh start or a new design, wallpaper removal becomes a crucial step in the renovation process. As experts in the field of painting and remodeling, “The Painters” in Ames, Iowa, have mastered the art of wallpaper removal. In this comprehensive guide, we will share our knowledge and expertise, providing you with valuable insights and practical tips to ensure a smooth and successful wallpaper removal project.

The Importance of Proper Preparation
Before diving into wallpaper removal, it’s essential to prepare the room and gather the necessary tools. This initial step sets the foundation for a seamless process. Here are the key elements of preparation:

a. Clear the Space: Remove all furniture and fixtures from the room to create ample working space. Cover the floor with drop cloths or plastic sheets to protect it from wallpaper remnants and moisture.

b. Gather the Tools: Equip yourself with the right tools, including a utility knife, putty knife, scoring tool, spray bottle, sponge, wallpaper removal solution, ladder, and safety gear (gloves and goggles).

c. Identify the Wallpaper Type: Understanding the type of wallpaper you’re dealing with can help you choose the most suitable removal method. Common types include vinyl, fabric-backed, and traditional paper wallpapers.

Scoring and Perforating the Wallpaper
Scoring or perforating the wallpaper is a critical step that allows the removal solution to penetrate and loosen the adhesive. Use a scoring tool to create small holes on the surface of the wallpaper without damaging the underlying wall. This step is especially important for vinyl or washable wallpapers, which have a protective surface that can prevent the solution from reaching the adhesive.

Applying the Removal Solution
The right wallpaper removal solution can make a significant difference in the efficiency of the process. Commercial solutions or homemade mixtures can be used to loosen the adhesive and make peeling off the wallpaper easier. Always follow the manufacturer’s instructions or the recipe guidelines when making a homemade solution. Apply the solution using a sponge or spray bottle, ensuring even coverage over the entire wallpapered area.

Allowing Time for the Solution to Work
Patience is key during wallpaper removal. After applying the removal solution, allow sufficient time for it to work its magic. The waiting period can vary depending on the type and age of the wallpaper, so follow the recommended waiting time provided by the solution’s instructions.

Peeling off the Wallpaper
Once the solution has softened the adhesive, it’s time to start peeling off the wallpaper. Begin at one corner and gently lift the paper using a putty knife or your fingers. Take care to avoid gouging or damaging the wall surface underneath. If you encounter resistance, apply more removal solution and wait a little longer before attempting to peel again.

Dealing with Stubborn Wallpaper
In some cases, older or multiple layers of wallpaper can be more challenging to remove. Here are some strategies for dealing with stubborn wallpaper:

a. Steam Removal: Using a wallpaper steamer can help soften the adhesive and make it easier to peel off the wallpaper. Hold the steamer against the paper for a few seconds, and then proceed with peeling.

b. Repeat Application: If certain sections remain difficult to remove, apply the removal solution again and wait for it to take effect.

c. Manual Scrapping: If necessary, use a putty knife to carefully scrape off any stubborn remnants of wallpaper.

Addressing Adhesive Residue
After removing the wallpaper, you might be left with adhesive residue on the wall. To prepare the wall for a fresh coat of paint or new wallpaper, it’s essential to remove this residue thoroughly. Use warm soapy water or a specialized adhesive remover and a sponge or cloth to clean the surface. Ensure the wall is completely dry before proceeding with any further decorating.

Repairing Damaged Surfaces
During the wallpaper removal process, minor damages to the wall can occur. Small holes or tears can be patched up with spackling compound, which should be applied, smoothed out, and allowed to dry before sanding the surface for a seamless finish.

Final Touches
Before proceeding with your next design choice, take the time to inspect the wall and make any necessary touch-ups or repairs. Sand the wall lightly to ensure a smooth and even surface for your new paint or wallpaper.

Wallpaper removal may seem like a daunting task, but with the right preparation and techniques, it can be a manageable and satisfying process. As experts in painting and remodeling, “The Painters” in Ames, Iowa, have shared their insights and tips to guide you through successful wallpaper removal. Remember to prepare the space, use the appropriate tools and removal solution, and approach the process patiently. By mastering the art of wallpaper removal, you can create a fresh canvas for your next interior design project, transforming any room into a personalized and inspiring space.